Kitchen Menu Board by KaoticKrafter
Materials needed:
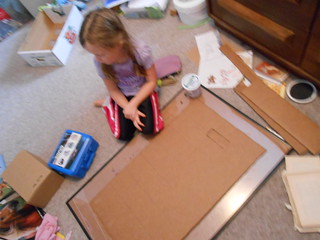
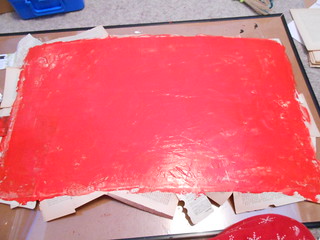
Cardboard (mine is about 30"x17")
Glue (we just used Elmer's cause it's what we had)
Paper (old book pages, wrapping paper- think recycling bin stuff)
Paint (acrylic craft paint, wall paint, etc.)
Longer sewing pins
Packing tape
Tools needed:
Cutting tool (scissors, knife, etc.)
Measuring tool (ruler, tape measure, etc.)
Sharpie
Old gift card
Needle nose pliers
Process:
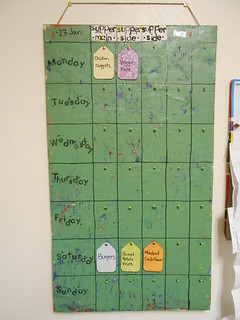
Step 2- Once you know how big your tags will be, figure out the size of your board. I decided I wanted 5 "meals" per day (Breakfast, Lunch, Supper, Side 1, Side 2 -or- Supper, Side 1, Side 2, Snack, Condiment/staple, etc.) My board ended being about 30" tall by 17" wide. Each meal/side is 2.5"x4" with the space for the day of the week about 4"x4.5".
You might want to allow the glue to dry before continuing. (We didn't cause we are impatient like that)
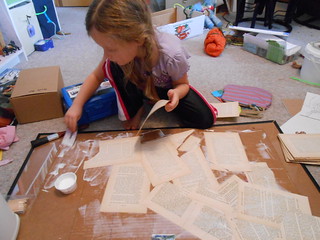
If your like me, you can add a few more layers
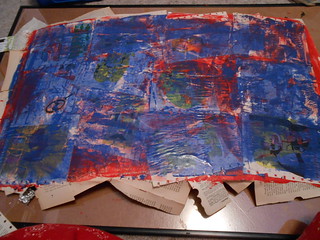
I added a layer of pages from an old cookbook, then did a thin coat of blue over it all. I wasn't super excited about it, so I added a coat of green (wall paint sample) over it all.
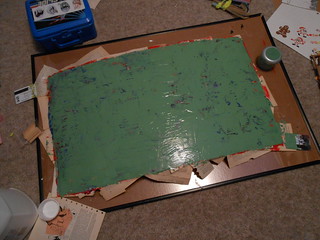
After that I was happy with it. I let it dry for 2 days ('cause we were busy and couldn't work on it).
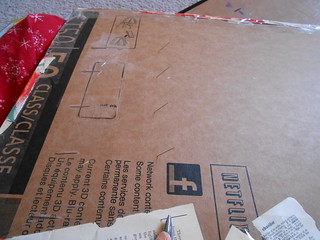
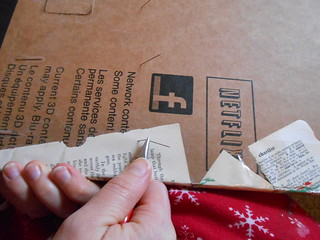
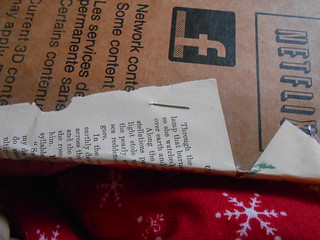
Step 6- I had pages hanging over the edges. I decided to curve them over the edges and tape them on the back. Feel free to trim the pages, or use ribbon to make a pretty boarder. You could probably even put it in a picture frame if you wanted.
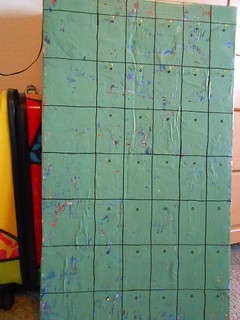
Step 7- Measure and draw your "grid". Start with a pencil then go over it with a sharpie- or if your really brave, just go at it with the sharpie.
Step 8- Using your tags, draw a circle in each spot so you know where to stick the pins. (see picture for step 6)
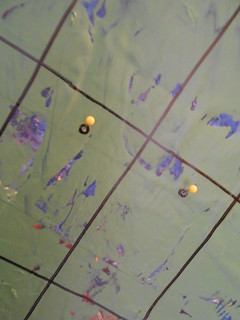
Step 9- Working one row at a time, stick a pin (the longer ones work better) through the center of the circle, leaving enough of the pin sticking out so that you can hang a tag on it. When you get to the end of the row, carefully flip the board over. (Watch out for the pins!)
Step 10- Starting closer to you and working away, use your pliers to grab the pin right next to the cardboard. (Not the best picture- I had already pulled the pin through when the kiddo snapped the photo)
Step 11-Pull the pin all the way through, then bend the pin slightly where the pliers are.
Step 12- Push the pin back "out." You want the pin to be as flush with the back side of the cardboard as possible.
Step 13- Once you get to the end of the row, take a strip of tape and cover the pins. Use your finger to carefully smooth the tape over the pins.
Continue steps 9-13 till all of your rows are done.
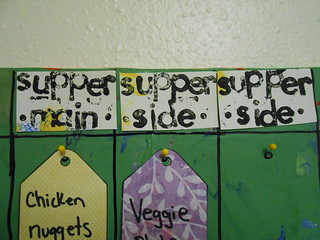
Label your days and name your columns however you wish! I have a feeling I will be changing them up here and there, so I just made column labels out of scrap paper and used double sided tape to secure them. I like to make some of our staples/condiments (think chicken stock, mayo and ketchup) as well as snacks/treats, so I think that's what the extra 2 columns will be for. Who knows, maybe I'll go crazy and actually plan breakfasts and lunches as well!
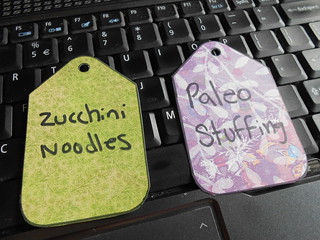
For my tags- I write the meal or side on the front, then the recipe location (cookbook, website, etc) on the back as well as the ingredient list.
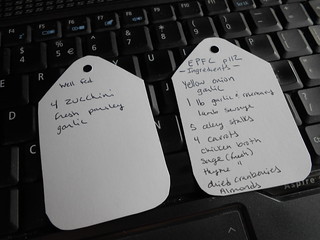
My hope is that this will streamline the meal planning/grocery list process.
For my tags- I write the meal or side on the front, then the recipe location (cookbook, website, etc) on the back as well as the ingredient list.
My hope is that this will streamline the meal planning/grocery list process.
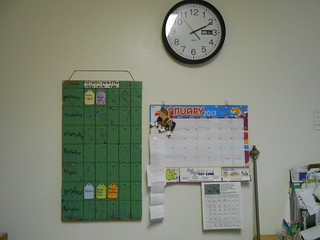
Anyway, figure out the best where/how to hang your new menu board, and enjoy!
p.s. I have created a few tags with our tried and true favorites, but I plan to create the rest of the tags as we try new foods so that I don't waste time creating tags only to find out that no one likes the item on it.


No comments:
Post a Comment
I love to read your comments, makes me feel good to know that people are reading my stuff!
Thanks!!