(Wow, 2 posts in 2 days!)
Ok, so if you are not aware of my latest obsession, you may want to read up a bit
here.
So, now it is my job to get you hooked as well :)
Here we go!
Materials Needed:
-Corrugated cardboard
-Ruler
-Rotary cutter (or scissors)
-Cutting mat (if using rotary cutter)
-Book rings (or ribbon will work as well, just a little more of a pain to add pages)
-Paper (printer paper, tracing paper, wrapping paper, newspaper, scrapbook paper, brown paper bags, packaging paper, graph paper, maps... I think you get the idea)
-Hole Punch (not shown- adjustable 3 hole punch or a single punch. You may be able to get a fixed 3 hole punch to work)
-Other fun and random items to to put into your journal. (envelopes, cards, pictures, fabric, dried flowers, beads, trinkets, whatever!)
-Writing implements.
-Glue, tape, stapler, staples.
Oh, and box. I like to find a shoe box (or a papa johns chicken strips box in this case) to hold all the items that I think I might want to add to my journal. I usually try to keep at least a glue stick in there also.
Step 1.
-Decide what size you want your journal to be. I typically like 5.5 inches by 5.5 inches. Having it a square makes it a bit easier to get the pages lined up.
However, for this black and white journal I went with what I had for white paper which ended up being 4 inches by 6 inches.
-Cut 2 pieces of cardboard slightly larger on 3 sides then your paper.
-Cut a lot of random paper to to the size you would like. You do not need to get them perfect.
Step 2.
-Set up your adjustable 3 hole punch so that 2 of the punches are where you would like your rings or ribbons. I suppose you could also have 3 holes. Or 4 for that matter. How ever many you want :)
-Punch holes on one side of all of your paper and the cardboard. *Make sure that the paper is pushed all the way to the back of the hole punch (or you will get partially punched holes). It may make it easier if you make a mark on the hole punch so you know where to like all you paper up so that the holes line up nicely.
Or not, it is up to you :) the beauty of the book rings or ribbon is that as long as the holes mostly line up, you should be good to go.
Step 3.
-Here is where the fun comes in. Take your cardboard and poke a pencil under the top layer of paper.
Peal it off slowly until your get the look you are going for. Do one side of each piece of cardboard.

Step 4
Sew things to other things :) This is of course an optional step, but I really like this part, so I expect that all of my covers will have some sewing on them.

Not super happy with the back cover but I can fix it as I go.
-If you plan to add anything that will hang off or add any odd bulk, wait until your are about finished with your journal. Or add it now and take out the pages you want to work as you go :)
Step 4.
-Ok this part is pretty fun too. Put everything together. Play with the lay out. Then do what you will with it :) Draw, paint, collage, staple and have a blast!

 |
| Don't mind the green ring. I just ordered more silver, but I had to make do :) |
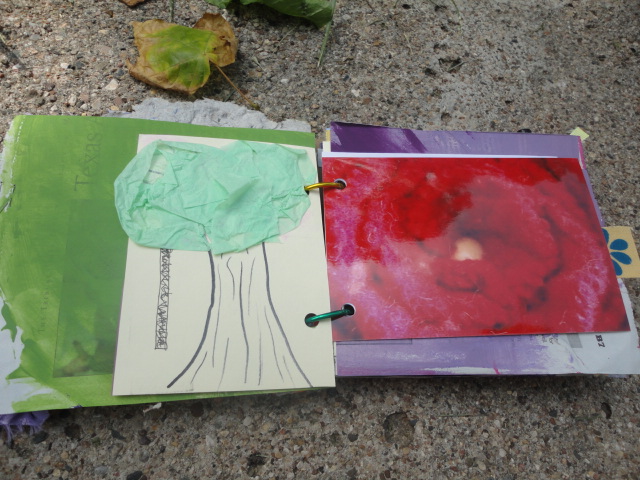
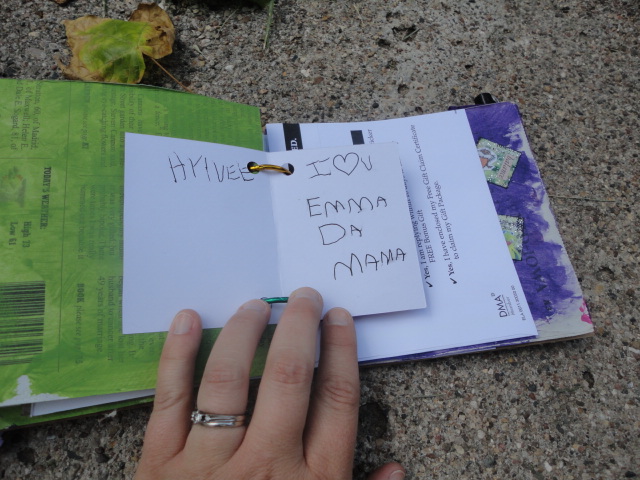
Here are a few examples of what I have done with my journal so far.
 |
| Bits of left over thread from the covers. |
 |
| Envelope holding a sticker to be added. |
 |
| Stamped paint chip weaving. |
 |
| Months of the year. Just 'cause. |
 |
| We really love horses :) |
If you have any questions, or need something clarified, please leave me a message or send me an e-mail. I am happy to help!
I would love to see what you make. If you write a blog post about it, leave me a comment with the link and I will stop by and check it out!
Happy Crafting!
p.s. I plan to add photos of my pages as I add to the journal. Thanks for stopping by!


.JPG)
.JPG)
.JPG)
.JPG)