*
Obsession- the domination of one's thoughts or feelings by a persistent idea, image, desire, etc. *
That definition is from dictionary.com. I thought I should probably look it up as I use the word a lot. And, I suppose, it fits each time I use it.
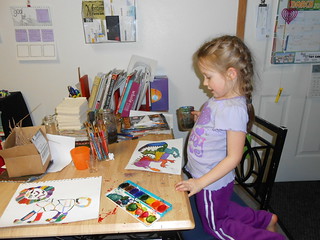
Anyway, our current obsession is sketching/drawing. Not sure what the difference is, but we love to draw. As much as I hate buying new paper when we have lots of paper that we could recycle, I find having a sketch book makes the act of drawing easier. Each piece of paper is the same weight, it takes markers, pencils, erasers, and many other mediums well, and its spiral bound so all my attempts and art stay in one place.
I say "our" current obsession, because Emma was always stealing my last sketch book and running off with it. So, we now each have our own. Technically, I have 3, but no one's really counting.
It turns out she loves her sketch book as much as I love mine. Here is a collection of photos from both of our sketch books. If you would like to see everything we've sketched so far, feel free to pop over to our
flicker site.
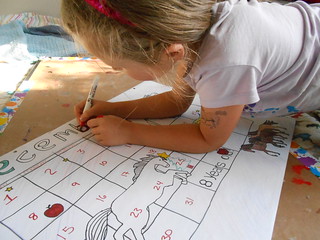
Here are a few of my favorites from Emma's sketch book (Strathmore Mixed Media 5.5" x 8.5" 90lb- gotta love buy one get one sales!)
*Emma took all the photos of her sketch book art*
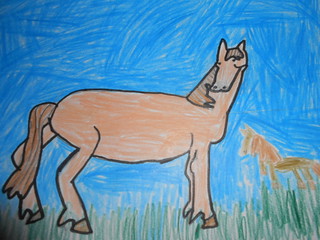
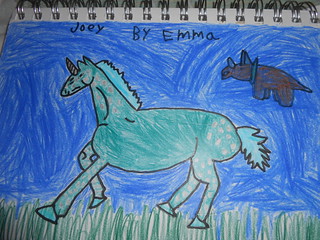
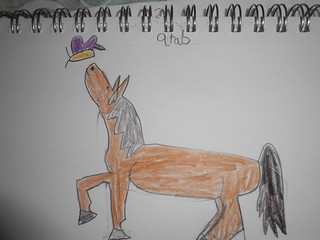
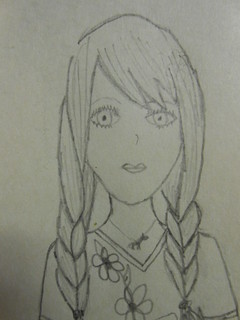
Drawing of one of her model horses
Draw from a photo on the web
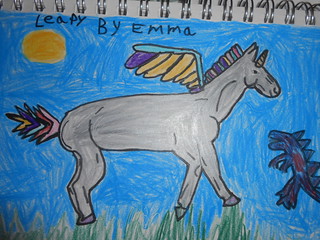
Drawn from her mind
Drawn from her mind
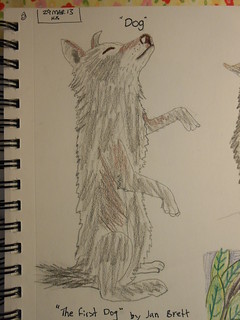
Most of my drawings are sketched while looking at pictures in Emma's picture books. My sketch book (Canson XL Mixed Media 9" x 12", 98lb).
From "The First Dog" by Jan Brett.
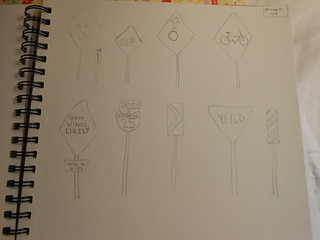
Various road signs we saw on our trip to Texas
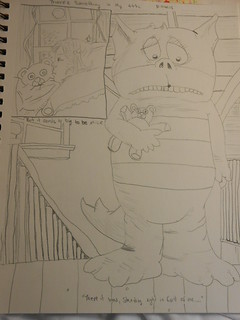
Two scenes from the book, "There's Something in My Attic," by Mercer Mayer
(This is my favorite)
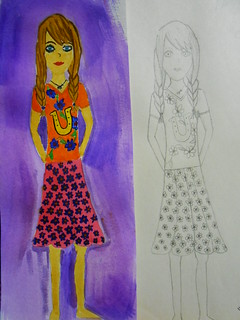
I intend to add color to my pictures, but I will probably wait till I get home so I can scan the drawings first. That way if I screw them up, I can try again :0)
There are lots more photos from our sketch books over at our flicker site. My worst drawing was when I attempted to draw Medusa. Pretty pitiful. If you want, you can check it out
here.
Happy Creating!