But, I decided to give it a try.
I was taking some pages (ones printed on one side) out of a college workbook that I never ended up using and decided to use the books original covers to make a new handmade book.
After making these two,


I decided to try creating a 'To Do List' in Excel. I liked the test pages I printed, so I also made up some blank monthly calendars. I decided to print up and make the calendars into books first.
As I was cutting up some cereal boxes to use as the covers, I realized this would make an easy (for me) tutorial.
So, here goes.
Materials needed:
-recycled paper (can be anything; paper printed on one side, wrapping paper, junk mail, envelopes, etc.)
-cardboard boxes (cereal, granola bars, pizza boxes, etc.)
-embroidery floss (could also use twine, yarn, heavy string, ribbon, etc)
-scissors or rotary cutter
-straight edge
-drill with a small drill bit (or you could use a hole punch, it just takes more work)
-something to drill on (I used a phone book)
Step 1.
Decide on what size paper you want to use. I used regular printer paper that was already printed on one side. I sent this batch through the printer so I had blank monthly calendars. After printing them, I just folded them in half. (If you are interested, I can e-mail you the excel spreadsheet that I created for this, just leave me a comment with your e-mail)

Step 2.
Cut the cardboard.
I cut the flaps off the box, then set the pages inside so I could figure out where to make the rest of the cuts. I liked the pictures and words, so I tried to make my cuts work with them. If you want a plain cover, make your cuts where every, then turn the covers over before the next step.
Some of the books I was able to use the fold as the top, sometimes I couldn't. Both ways seem to work well.
I used a rotary cutter and a straight edge to cut the boxes up. I have fallen in love with rotary cutters. I have one for paper and one for fabric :) Scissors will work also, you will probably have to actually measure.


Step 3.
Making Holes
Once you have the cardboard cut to the correct size, insert the pages and make sure everything is lined up.
I used the phone book to keep my pages and covers lined up. It also made for a nice drilling block... after I adjusted the drill bit... I only ended up with one small hole in the floor :)
I used the edge of the picture on the back of the phone book as my guide, you may want to draw a line so your holes are straight.


If you don't have or don't want to use a drill, you can also use a hole punch. Punch the top cover, add and line up the first page (or however many you can punch through at onece), punch through the first set of holes, and continue until you have punched all of your paper and the back cover.
Step 4.
Stitching
This is where I got the (lame) name of stitched books. I used embroidery floss (because I have a ton of it on hand). I used a blanket stitch (I had to google it the other day for a different project). It is important to make sure you don't stitch them to tight, otherwise your book won't really open.

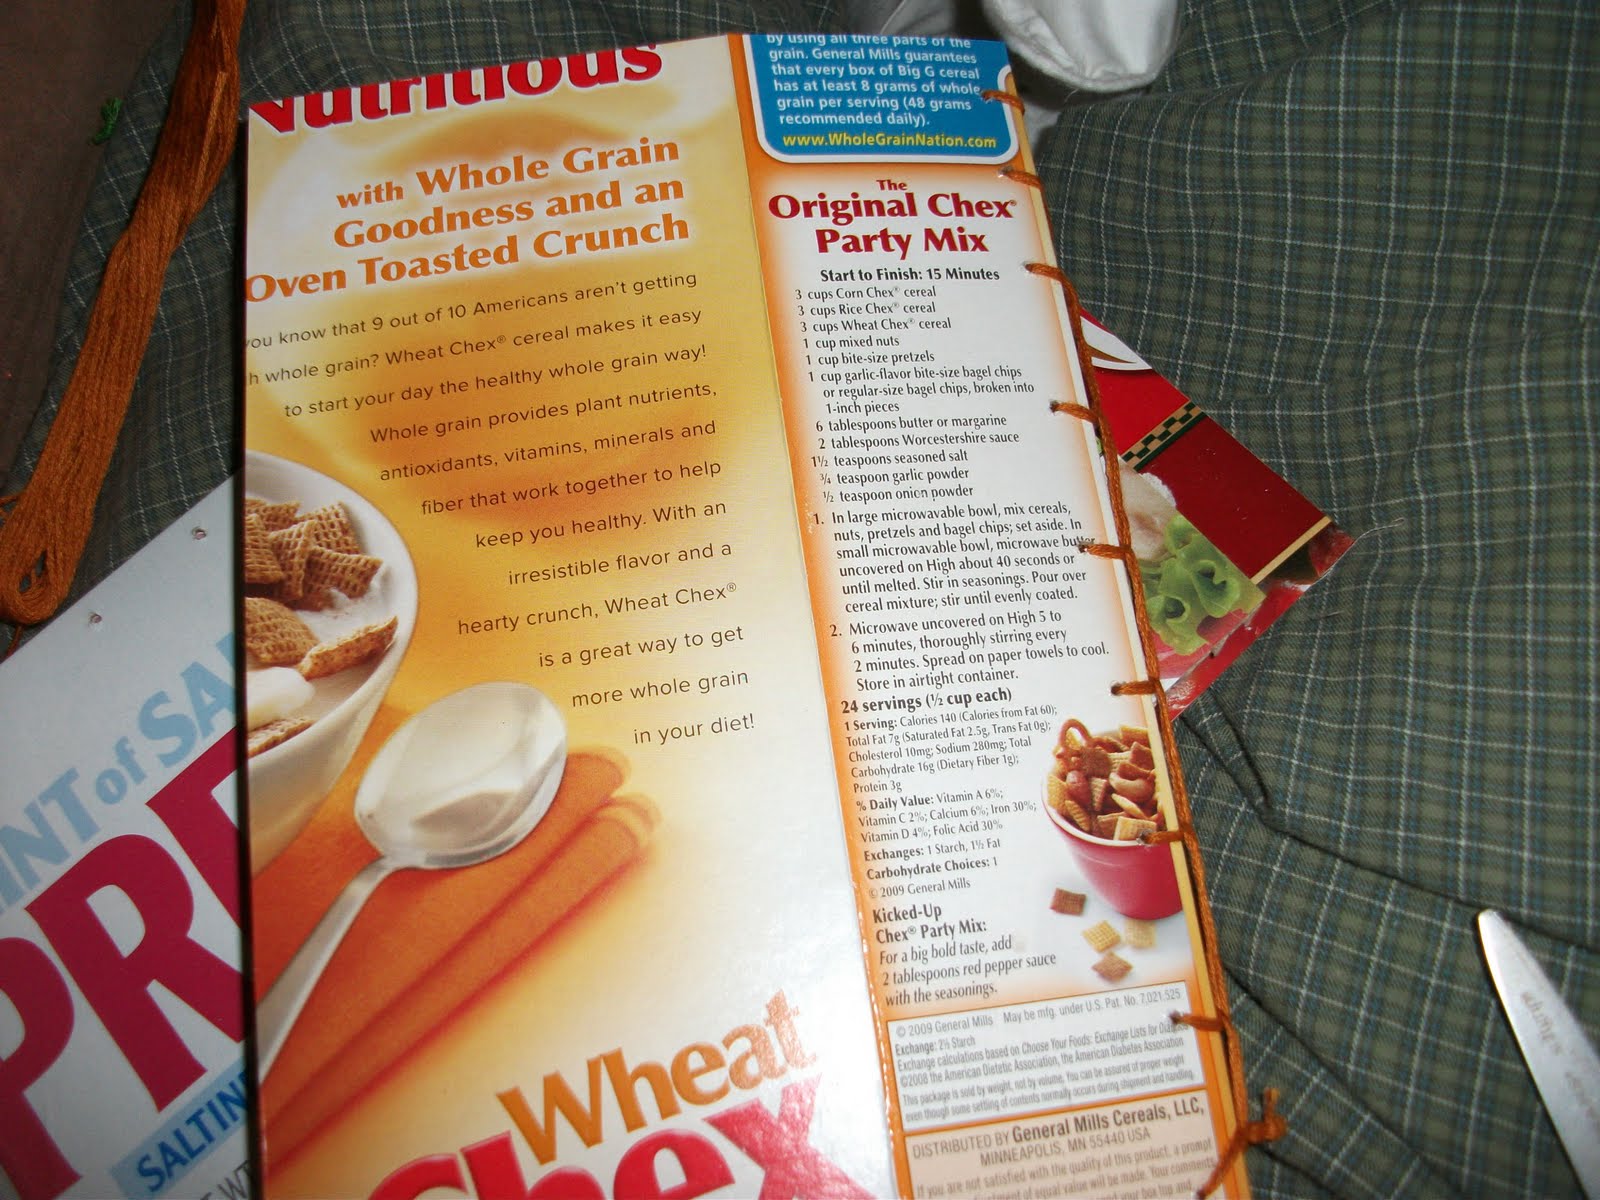
That is it. Here are a few pictures of the ones that I made today.


This last one I even managed to include a recipe on the back (ok, it was totally by accident, but still cool).
I would love to see what you make! If you feel like sharing, go to my FB fan page
and share away :)


Good job! You made a lot of booklets! I used up some of our cardboard by cutting letters out of them... I have so much stuff in our recycling bin there's no way I will ever be able to use it, to my shame! I'll be linking to your post this weekend at dollarstorecrafts.com
ReplyDelete