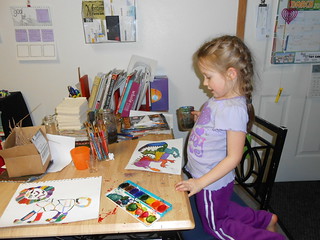
The calendar is in the upper right corner of the photo.
Normally what I do with the calendar pages once the month is over is I give it to Emma for paper to color on.
Not sure when or why, but eventually it dawned on me; the back of the pages are the perfect size for next years calendar!
So, this is how we did our latest batch (because I didn't take photos of the first batch).
Materials Needed
Old calendar pages that are blank on the back (not in the photo)
Writing implements (pencil, pen, markers, colored pencils, etc)
Ruler (if you want straight lines)
Tape
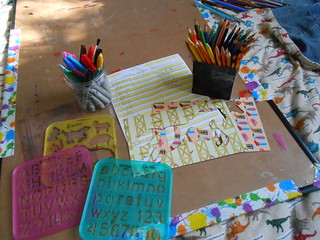
Stencils
Cheat sheet with the months of the year and days of the week
Step 1
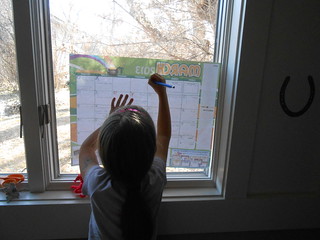
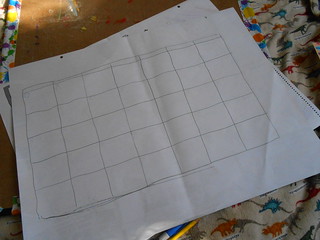
Use a bright window to trace the squares from the original side onto the back side of the paper.
You can tape the page to the window if it's easier. We used pencil so that we didn't Sharpie the window.
Ready for art work!
Step 2.
Cover the page with stencils, doodles, and whatever else you want.
Step 3.
Add dates, go over the outline of the calendar with marker (if you want) and presto-chango!
We are now ready for December.
A quick note: On our last batch of calendar remakes we did, we covered the pages with paint before adding the lines and dates. While they look cool, it was hard to see the dates or anything else we may have written on the calendar (such as appointments). This time around we are going minimal and so far we like it better.
What do you do with past years calendars?
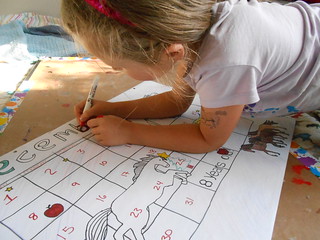
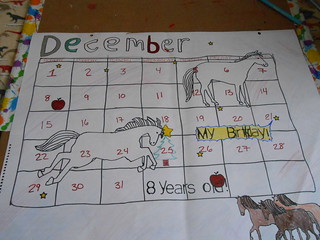


Love the horse theme page.
ReplyDeleteI REALLY like the horse art that you put on the calendar. I can't wait until my drawings improve enough to draw horses!
ReplyDeleteJulie, those horses are actually stencils :0) However, Emma's horse drawings are pretty amazing. Mostly because she draws horses just about every day.
ReplyDelete