Showing posts with label purse. Show all posts

Thursday, May 6, 2010

Giveaway - Bags Galore

Ok, sticking with the bag theme, I am giving away a 'book' bag, a clutch, and a tote (that I had planned to enter into the April Stash Bust Challenge, but I ran out of red thread and didn't want to use a different color).

The 'Book' Bag - This was my second attempt. I am not super happy with the way it came out, the fabric inside is a bit wrinkly. Still pretty darn cute though!

This bag currently does not have a closure, but if the winner would like one, I can probably whip one up.

The Clutch - This was my first clutch, and aside from it being pretty plain, it came out great! The glittery fabric is so much fun (but it does tend to glitterify everything).


The Tote - I made this from some of my fabric swatches. I love the slightly patriotic theme. Great tote for general use.


Entry Rules:
1. Leave me a comment before noon (central time) on May 31st.

That is all. If you decided to follow my blog, that would be splendid! If not, I am ok with that also.

If you like what you see, feel free to check out my ArtFire Studio.

Thanks, and good luck :o)

Tuesday, May 4, 2010

Purses Galore!

I seem to be stuck on making purses, clutches, and other bags.

Let's start with the "Book" bags that I have made.

This brown book made me think of a professor, (kinda like Indiana Jones)and I wanted to find a tweed fabric to go with it, but I didn't have any, so my next favorite was the stripped fabric you see above. The handles are some beads I got on clearance. I was happy that I only needed to use one strand, means more for another project:) I have not decided on a closure for this one yet, so if you have any suggestions, I would love to hear them!


This one I did a little different. My original plan was to make a pillow case type thing and slide the book inside. I didn't measure correctly (which is known to happen around here with all the winging it I do). Plan 'B' was to use the fabric on the outside. I love it! I added a zipper closure to this one (I think this might be like my third time sewing a zipper). Add a recycled belt, and I am set. I have been carrying this purse around for a few days. I love it. It fits just under my arm and is super comfy.

I had grand plans to make a ton of these purses (I bought about 20 of these Readers Digest Condensed books at a garage sale last weekend for $.25 each!). But, I got distracted.

I can almost hear you asking, "What could possible distract this focused and steady individual?" (and yes, I can hear the sarcasm:)

These fun little doohickeys!


I think the technical name for them would be "Clutch", but that seems just as goofy as doohickey. Well, to me anyway.

Here is the first one I made.


I borrowed the book "bend-the-rules Sewing" by Amy Karol after reading her blog, Angry Chicken. I love the book and may have to start looking for a used copy to add to my own collection.

Anyway, one of the patterns in the book is for this cute clutch. I was suppose to decorate the white fabric first, but seeing as my artistic abilities do not include drawing or painting, and I didn't have the patience to do any freezer paper stenciling, I decided to just leave it plain. I still like it, but it would look much snazzier with some artwork on the outside.

So, the same day (night actually) that I made my first one, I decided to whip out a few more using the same fabric and such just to save myself a bit of time.


I like them. Don't think I would ever actually carry a clutch around instead of a purse or bag, but they are super cute. And with 3 bags being completed in an hour or two, it is the perfect project for this Kaotic Krafter :)

Lets see, what else.

Oh, my brick pillows.

Before I introduce you to my brick pillows, let me ask you something. Do you ever go into the fabric stores and look at those big huge swatches of special order fabrics? You know, the ones that are absolutely gorgeous, but cost around $30 a yard or more? I love those fabrics. I would never in a million years spend that much money on a yard of fabric, but I still love the fabrics.

One day while making a quick run to Joann's for a few specific things, I discovered that when the fabrics are discontinued, the swatches are sold. And for only $2 a swatch! I suck at guessing sizes, but I would say that the average swatch is about 18" X 18" (I could get up and measure one, but I don't want too).

I bought a ton.

Emma and I where at Joann's this Sunday (because the April stash bust was over and I "needed" a few things). I was delighted to see that the swatches where now only $1!!! I think I bought all but about 10 of them.

Don't they look pretty though?


I did try to pick ones that would go together, but I am not the best at matching (which is why I am happy that Emma dresses herself and I can tell people that it is not my fault she doesn't match).

Anyway, as I was greedily grabbing all the swatches, I made a vow to use the majority of them before the end of the month. Lucky for me, they are the perfect size for the clutches, and for the books. Score for me, I love it when things accidentally work out :)

Ok, so after that really long side note, here are my brick pillows (which I used fabric swatches for).


Sometimes I like to just start cutting fabric and sewing it together to see where it takes me. I had originally thought these swatches would turn into a bag. They decided they wanted to be a pillow.


I made this purse using the left overs from the clutches above.

So why are these pillows called brick pillows? I used fabric scraps to stuff them. An awesome way to use every last piece of fabric. The only problem is that it makes the pillows heavy. They are still pretty comfy (though I wouldn't use them to sleep on all night).

Well, I feel that I have taken up enough of your time for today. To show you how much I appreciate you sticking through this long post, I am going to be posting a giveaway on Thursday.

Hope you had an awesome first half of the week!

So Much Crafting, So Little Computering

Not sure if computering is a word, but it fits. I have been crafting like crazy and the weather has been nice, so I have not been on the computer all that much. I plan to take a few hours this week to let you know about all the fun things I have been making.

Here is a quick list of what you can look forward to seeing later this week:

More book purses
Denim and wool cooler
T-shirt Skirt
Brick Pillow

and much more.

Thanks for stopping by, I promise there will be more interesting post before the week is done!

Sunday, April 25, 2010

Congress and the Nation Vol. VII 1985-1988

This weekend I discovered another area of crafting that I think I will really enjoy; altering books.

A few months ago I ran across this video tutorial. I loved the thought of turning an old book into a purse and knew that one day I would try it.

Last week while Emma and I where at the Ames Public Library, I found a huge, hardcover text book on the free shelf.

Actually, I found four, but figured I should only take one. I didn't need to add more junk then I could handle to my already ridiculous stash. Although, I am kicking myself now because...

Today ended up being the day.

I started this project at about 3:00 this afternoon (Sunday 25Apr10). I didn't expect to finish it today, but I wanted to at least get it started. I hadn't made anything for the last few days and I was starting to have withdrawal symptoms.

To my great surprise, this project turned out to be pretty easy. The hardest part was trying to decide if I wanted to cover the entire book with fabric, or if I wanted to leave the outside the actual book. The second hardest part was picking the fabric.

I knew I wanted to use the serpentine belt that Jared had saved for me as the handles. (I know, what a great husband to think of me as he is fixing his Jeep!). After washing the belt and drilling some holes it it, I was ready to make the rest.

I followed the tutorial, for the most part. If you have read some of my other posts, you might remember that I am not so good at following directions. He (they guy in the video) uses glue for a lot of the heavy stuff, I decided to sew everything together, then glue it into the book.


I even added 2 pockets!

I also learned a very valuable lesson. When sewing pockets into a bag, don't sew them flat. Make sure there will be room to open up the pocket so you can put more then a credit card in there.

(Yeah, my pockets are good sized, but they don't really open so they really can only hold very thin items...)

Even with the pocket mistake, I love how the bag came out. If Emma and I venture into Ames tomorrow, I will be stopping at the library to see if the other three books are still there...

Saturday, April 3, 2010

Freezer Paper Rocks!!

I am super excited but a little sad that I signed up for the April Stash Bust now :( I pledged to not buy any new crafting items this month, and to make due with what I have on hand.

Granted, I have a TON of stuff on hand, but I only have 5 colors of fabric paint. I actually just purchased those last week I think, so yeah for me!

So, you are probably wondering what it is I think I need.

I need lots of different colors of fabric paint!!!!

Why?

So I can give in to my newest obsession and create more of this:


and this,


and this.


You may recall that a little while ago I was complaining that there really isn't a lot of clothing items (or any other items for that matter) out there for girls who dig dinos. I am still searching for ways to rectify this problem.

Well, I decided today to try out freezer paper stencils. I have seen a lot of tutorials lately for how to do this (and each time I try to find them again, I find new ones). I will keep looking for the link that I want to share with you, but right now I can't find it:(

Basically, all you do is take freezer paper, draw on the dull side, cut it out, place the freezer paper on your fabric, shiny side down, iron for about 10 seconds or so (I had mine set at 4), then once the stencil is cool, get to painting.

I found that it is easier to take the stencil off if the paint is still a bit wet.

I like to use both the positive ad negative image.

I really wanted to stencil the words "Girls Dig Dinos Too!" onto this tank top, but we seem to have misplaced it (Emma was going to wear it the other day, then changed her mind, so it could be anywhere).

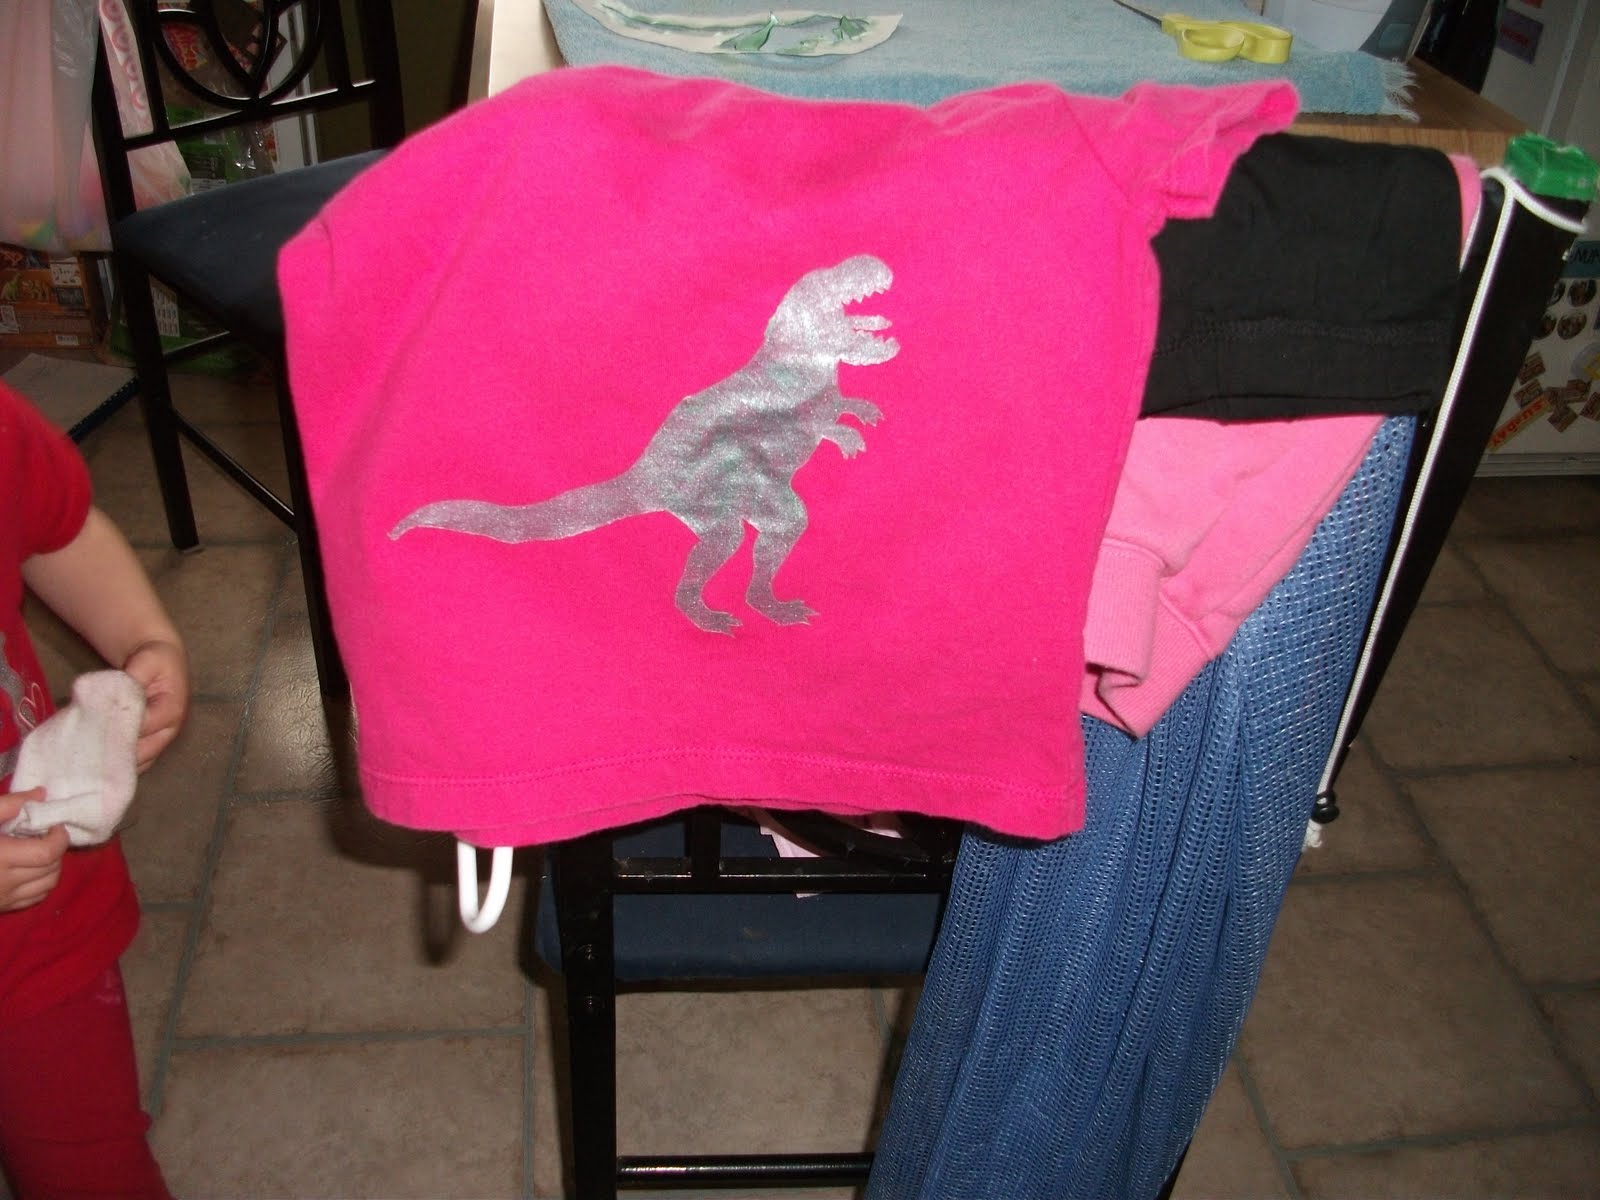
So, we did these instead. Emma picked out one of her shirts and asked me to put a t-rex on the back. Fine with me! She picked out this shirt.


And this is what we did with it :)


This next picture is of a bag I made today. I really wanted to stencil "Girls Dig Dinos Too" but didn't have anything to stencil it on. So, I grabbed some canvas I had laying around and cut off a piece. Once it was dry enough to take the stencil off, I couldn't just leave it as a random piece of canvas with an awesome saying on it. So, I took the rest of the canvas and made this.


Once I was done making the canvas bag, I deiced to make a more girly purse and add a dino to it. I haven't gotten the letters on yet because I didn't have room for all of the stencils. Tomorrow I will add the letters, once the paint is dry. I may look at doing a different font then the one I currently have...


Anyway, I am super excited about these. I see a lot of cool designs custom made by Emma in the near future.

I also made some paper today. I am trying to thin out my paper piles set aside for making paper, and today I discovered some holiday wrapping paper that I had saved. So, I made Christmas paper in April. Nothing like getting a head start ;)


Well, I really suck at getting to bed at a reasonable time. Today seems to be one of those days though that I might actually be able to fall asleep before 2a.m., so I am going to try to take advantage of it before I get my 5th wind.

Good night everyone. Thanks for ready, and I would love to hear what you like best!