Showing posts with label journal. Show all posts

Monday, September 17, 2012

August 2012 Altered Journal - Pt. 2

In case you missed part 1, you can find it here.

We ended the last post on August 16th, so here we go with August 17th!

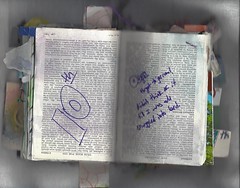
August 17th
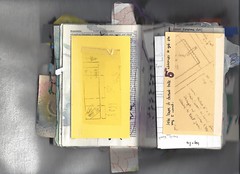
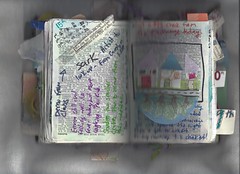
Not a really great scan, or page for that matter. I had a cool idea that I sketched out on a post-it note and stuck that into my journal. 

August 18th
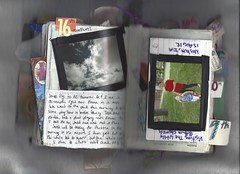
Random bits of paper added to the journal. 

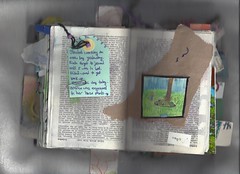
August 19th
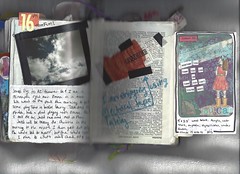
I wasn't sure what to do, so I grabbed one of my sets of markers and made a sample sheet of what they would look like. Practical and pretty.
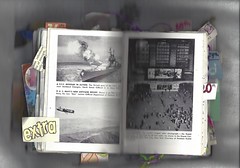
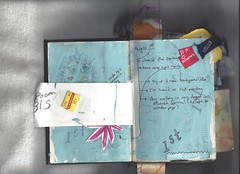
This was one of the pictures from the actual book. I kept it because I thought it was pretty cool. The picture on the right is a photo of "the worlds largest photo- the Kodak Colorama, 18 feet high by 60 feet wide- as shown in the Grand Central Terminal, New York City, New York." This is from 1950.

August 20th
A fun, simple page that I did while in a hotel room. The photo of the flowers was taken by Emma.
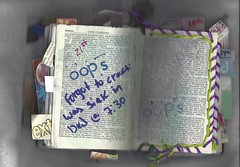
August 21st
I started not feeling well on our trip back home. I was in bed by 7:30pm and never even thought about working in my journal until the next day. 
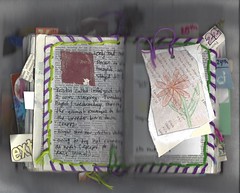
August 22nd
This was another class night, but I only had one person attend. I demonstrated how to stitch around the edges of the page, and I made a fun little tag. 
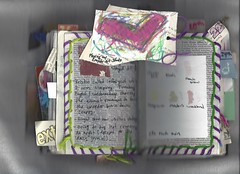
August 22nd
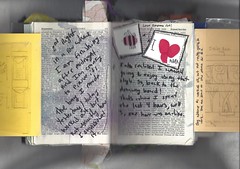
Once home from my class, I played around with Crayola Studio on the computer and made the heart. 

August 23rd
The "Awesome" was some leftovers from a wood block I made. The block had a paper boy on it with the quote, "Don't forget to be awesome."
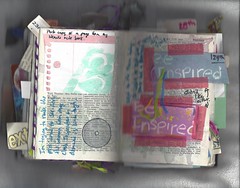
August 24th
I had sort of been commissioned to make an altered journal, which I was struggling with. I glued in a few bits that I had made for the journal that I ended up not liking. A reminder that creativity isn't always there when I want it. Best to use it while I can!

August 25th
I don't remember why, but I decided to make Emma a dress from a t-shirt that was a bit to snug for me. In order to guarantee that she would wear it, I sewed a horse on it. I know, pretty sneaky. This journal entry is some of the left over fabric I used to make the dress. 
Oh, Emma LOVES the dress :0)
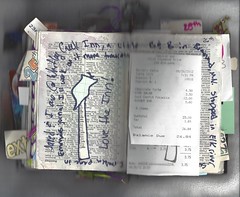
August 26th
Jared and I decided last minute (with some encouragement from Gramma) to go on a little trip, just the two of us. So we did. This journal entry is some receipts from some of the places we stopped on our trip up, as well as a little snippet of the page I created in the journal I am working on for Emma. 
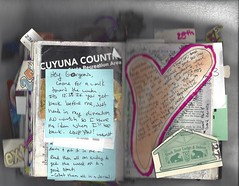
August 27th
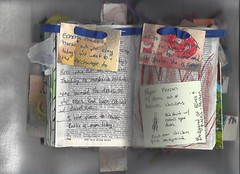
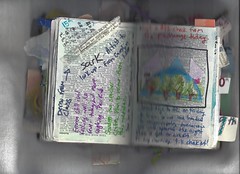
I spent the entire day being creative at the beautiful Whiteley Creek B&B while Jared was out mountain biking. Here are a few of the leftovers as well as some notes and receipts from the day. 
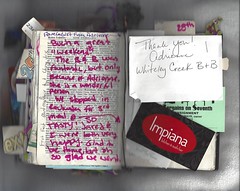
August 28th
Our last day on our mini vacation. More receipts and lots of writing!
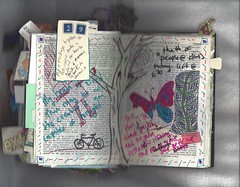
August 29th
Just some random doodles and whatnot's. I love drawing trees. 

August 30th
I jazzed up an old composition book for Emma and put some of the stray bits into my journal. Probably should actually write more stories in the composition journal for her to illustrate...
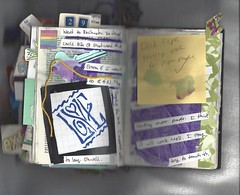
August 31st
More random bits. The "LOVE" is a piece of graph paper stamped a while ago that was just living in my stash. A random paper key, also from my stash, and a little watercolor sticker. The post-it note was written just before bed one night and included into my journal because I actually remember to do what I had written down. 

Well, that is the end of the book. I had a few pages left in my journal, so I just wrote what my overall impression of the past month was as well as a few things that happened throughout the month that I wanted to remember (like Emma finally realizing that she can read-and reading everything in site). 

I am currently working on Septembers altered journal, which has been a little tougher for some reason. I will start scanning pages and start posting them soon. 

Well, I hope that you enjoyed seeing my daily journal entries, and I hope that this inspires you to give it a try.

Have a creative day!


Saturday, September 15, 2012

August 2012 Altered Journal - Pt. 1

I had planned to take photos of my August Altered Journal on a bright sunny day, but our camera decided to die.

It really sucks not having a camera.

So, I finally decided to just scan each page, which works, but most of the pages are fuzzy. Better then nothing.

So, here they are! There are 44 pictures so I have decided to make this a two part post. Here are the pictures from the cover to August 16th.

Cover 
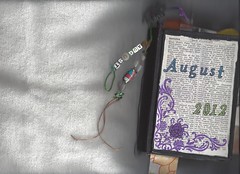
The beads say August, and just some other fun beads. There are other fun random bits sticking up from the edge. 

Monthly Spread
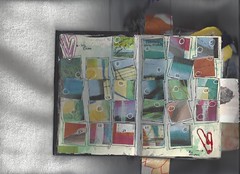
I made a calendar of inchies. The hearts are paper clip hearts made by Emma. 

August 1st
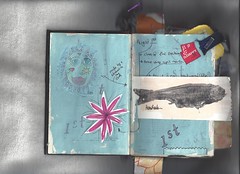
This was the first day that I taught an altered journal class. The fish print and the face on the left side are from one of the ladies in my class. 

August 1st
Clearance tags from some markers that I had bought. 

August 2nd
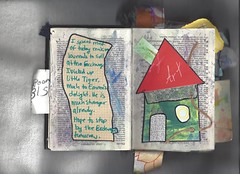
Collage house

August 3rd
Art is Everywhere- this was a spread that I had made in one of my larger journals. These were bits of leftovers. 

August 4th
This was a great day- we had finally gotten some rain. 

August 5th
Working on a sewing project, so I glued some bits of the fabric to this spread.

August 6th
The sewing project didn't work out exactly how I wanted, so I made some different plans.

August 6th
Emma made me some fun finger print art.

August 7th
We headed down to Iowa City so the hubby could ride one of the mountain bike trails. He wasn't sure the best route to take, so I used some tracing paper over his make to plan our a route for him while he drove. I thought the image looked cool, so I added it to my journal.

August 8th
My second Altered Journal Class. I was showing them that anything can be used as a stamp. The blue "dots" were made using the foam shelf liners glued to a piece of wood. 

August 9th
The farm that I work at a few days a week had been vandalized. Someone tried to set fire to the barn that housed the chickens. Crafting is my therapy.

August 10th
I didn't remember my journal until I was already snuggled into bed. I was too lazy to get up and make an entry.

August 11th
The tiny little picture is a reproduction of a watercolor I did of Emma. 

August 12th
"Strength does not come from physical capacity. It comes from an indomitable will." Mahatma Gandhi
A reproduction of the paper person I made for the woman I work for. 

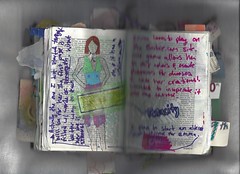
Emma likes the dress design game on Barbie.com. I like the dresses she makes. So, I plopped one into my journal and drew a person into the dress. 

August 14th
A bunch of randomness. 

August 15th
Packaging from some stationary inspire me to make a house scene with some trees in front.

August 15th
The houses.

August 16th
This page was made while I was in a hotel in Minneapolis, MN. The cloud picture is from a trip to the park and the picture of me and Emma taken on the 13th. 

August 16th
The paper person is a reproduction of a wood block I made. She is saying, "Whether you think you can, or think you can't, you are right." All the photos are framed with electrical tape. 


Well, I think that is plenty now. If you can't wait till the next post to see the rest, you can see them on my flicker site.

I hope that you have a fun and creative day!

p.s. Here is a link to Part 2.

Thursday, September 13, 2012

My Favorites

I am still loving altered journals a year from when I made my first one. For me that is sort of a record (hence the kaotickrafter).

Anyway, I have decided do a post with links to some of my favorite altered journal posts/sites/supplies, etc.

These are in no specific order, mostly just pulled from my Pintrest Altered Journal Board as well as other places.

Blazer Designs-This website is full of lots of creative fun stuff, but specifically the Art Journal Every Day series. 
This page was done by a 15yo. 

PhizzyChick- I first fell in love with altered journals when I saw one made by PhizzyChick over on Craftsters. Lots of fantastic inspiration from this lady!

Made by PhizzyChick

Simply Me- This is a site that I pinned one of her posts and forgot about it. Looking through the site now, I really want to hurry up and finish this post so I can go make a crafty mess!


Ponderings- More than just journals, but all great inspiration!


I have just been invited to a tea party so I must run. I hope that this list provides you with a wonderful starting point for your altered/art journal adventures!

Edited to add more sites to check out:
Traci Bunkers


Wednesday, August 29, 2012

Altered Journal Tutorial- Pick and Prepare

I am always amazed that inspiration and motivation can come from very unexpected places. This past Sunday- Tuesday, my hubby and I finally took what I would call a real vacation. We didn't go anywhere to visit anyone. The sole purpose of the trip was for the hubby to get some mountain bike riding in, and for me to get some quiet crafting time in.

We stayed at this WONDERFUL B&B called Whiteley Creek Homestead B&B, in Brainerd, MN. I chose this B&B for many reasons, but the biggest was that Adrienne, the owner, has a lot of fun craftiness posted on her blog. What better place to craft than a B&B run by a crafty woman?

Anyway, our wonderful trip is a topic for another day. The reason I bring it up at all is that Adrienne was very interested in my crafting, and once I showed her the journals I was working in, she made me glow with how much she loved and was inspired by my work. She really wanted to make a journal, but while the B&B is open (May-October) she really doesn't have a lot of time for being creative (though I can assure you, her breakfasts are a work of art!).

So I promised her I would post a tutorial on how to get an altered journal started. I have decided to do this as a series because I tend to write long winded posts- especially tutorials. That being said, here we go!

Picking a Book
#1- The first thing to think about after deciding to make an altered journal is the size. I usually have two journals going at the same time. I use a smaller journal for journaling everyday, and a larger journal for making a bigger mess.


My smaller journals is about 4"X6", so that gives me about an 8" spread (both the left and right hand pages together).
My larger journal is anywhere from 8"X10" on up. That gives me at least a 16" spread.

Once you know what size you want, run out to the thrift stores, garage sales, library sale shelf and buy a book! (or 9) We have a thrift depot place that I love where the books are $0.25. Perfect.


#2- Check the binding. Working with a book that has stitched signatures (groupings of pages) is SO much easier. This tutorial will talk about working with stitched books. I will try to write another post about different bindings (glued, spiral, etc) but no promises as the stitched is my favorite.

These two photos show you what a stitched book looks like. Sometimes the stitches can be hard to find, but it's worth the extra time it takes.


Stitching is broken= extra work.

Avoid books that look like this (although I will be writing a post on how to fix this if necessary during this series).

Once you have the book(s) you want, now its time to get the book ready!

Prepping a Book
#1- Grab your book and a comfy seat- we are going to start removing pages (note: a cement slab is NOT a comfy place to sit for this process).

Why remove pages? To give us more room for all the awesomeness we will put into the book! Every piece of paper or layer of paint that gets added to the book adds to the books thickness. Without removing any pages, your book wouldn't shut and the spine would bust. Believe me, removing pages is important.

Find the center of your first signature (picture 2a shows the center stitching)


Count how many pages are in each signature. This book had 14 (7 pages on each side of the center stitching). This will help with deciding the number of pages to remove. Page thickness plays a part as well.

For thin pages, remove less as you will need to glue more pages together in order to make a sturdy surfaces for all the awesomeness mentioned above. Books with thicker pages can stand to have more removed.

This book has pretty thick pages so I decided to pull 4 pages from each side (or 4 spreads).


With the book open so the center of the signature is visible, take the first page on each side of the stitching and close them, but keep your fingers between those two pages and the rest.


Starting at the top of the book, s-l-o-w-l-y rip the pages (or spread) from the book. There will be a slight resistance when you get to the stitching, but keep going slowly and the page will come out.

This is what your spread should look like once removed.


Not all of your pages will come out cleanly. If this happens...


...don't worry about it. Seriously it isn't a big deal.


Remove the rest of the desired pages from your first signature. Close the book and see how it looks. You will see a noticeable difference between the first signature and the rest. If for some reason you don't, maybe think about removing more pages, one spread at a time.

Repeat the process with the remaining signatures in the book.


Your book might now look like this. Keep that pile of removed pages!

After removing 4 spreads from each signature, this is about what my book looks like. I could probably go back and take one more spread from each signature, but I decided not too.


Now comes more fun!

#2- Gluing your pages together. This step gives us nice sturdy pages to work on. If the book you chose has nice thick pages you may be able to get away without gluing, but in most cases, you are better off gluing at least 2 pages together. For thinner pages, 3-5 pages together isn't a bad idea.


Gather your glue stick (or 2) and the pages you already removed from the book. I am still working out the best way to stick the pages together. Right now I like the Prang brand glue stick. Double sided tape will work, but if you draw on your pages, the tape will cause marks.

(four pages glued together- frayed edges)

I used to just glue pages together and call it good, but now I get bugged by the "frayed" edges and I always worry I am going to try to turn a page and rip some glued pages apart.

Enter the previously removed pages.


At the end of my last journal, I started using the removed pages as a wrap to finish off the edge of the glued pages.

Deciding how many pages to glue together can be tricky. If the paper is thin, start with 3 pages or more. If the paper is thicker, start with 2. Count out the number of pages you plan to glue together and wrap one of the removed spreads around them like the picture above implies. Go through the entire book.


You may be tempted to skip this step, but we warned- You could realize halfway through the book or farther that you miscalculated and you end up adding all the pages you removed, back into the book. When I went through this book with 2 pages wrapped in a spread (basically 2 pages), I had one spread left. There would have been little room left to add anything creative to the book.


So, I still went through and glued 2 pages together (sometimes 3 if I wasn't paying attention), and occasionally added one of the removed spreads as a wrap.


To glue- run your glue stick around all 4 edges of one page and an X from corner to corner. Press the other page against the page with glue and smooth it out with your hand.

If you want to add the removed pages as a wrap, simply repeat the glue process on the outside of the pages glued together and smooth the removed page, crease side out, over the page. Flip the glued pages over, lay some glue down again, fold the page over, and smooth it down. Below is a picture of what you will end up with.


Here is what the edge will look like.

Now all you need to do is repeat until you get through the book! Here is what my book looked like when I was finished.


That's it! You now have an altered journal to work in! My next post will explain my process for getting started with the actual creating/journaling. Check back soon!

If there are any questions or anything that is unclear, please don't hesitate to post a comment or e-mail me at kaotickrafter (at) hotmail (dot) com.

Thanks for stopping by and have a creative day!