Showing posts with label cereal. Show all posts

Monday, April 19, 2010

Tutorial - Homemade Recycled Postcards

Emma loves horses. Like, REALLY. LOVES. HORSES. Anytime I ask her what she would like to learn about, it is always horses. I decided to be sneaky about learning. If all she wants to learn about is horses, that is fine. We can use horses to learn just about everything she needs.

How, you ask? Well, did you know that the first horse was the Eohippus and it lived about 50-60 million years ago? Emma does. Did you know that the Shire is the biggest horse and that it originated in Belgium? Emma does.

We try to focus on one or two horse breeds each week, and we check out a bunch of fiction and non-fiction books from the library on the breed she picks. We learn geography, history, relationships, etc.

We are also learning about math. For Emma's Thursday horse lessons, we decided to make horse biscuits. Measuring is a good way to learn math... This sounds like a future post for my family blog, Ready, Set, J.E.T.

Umm... Sorry. You probably came here for the tutorial on how to make postcards :)

So, after reading about Postcrossing, I thought it seemed like a neat way for Emma to get mail, and also a neat way to learn about geography and languages. We have asked that people write 'horse' in their language on the postcards they send to us:)

Being cheap, I decided to make our own postcards, which bring us (finally) to the tutorial.

Materials:
Cereal, granola, cracker, etc. boxes.
Cutting device (scissors, rotary blade, etc)
Ruler
Blank paper (we use printer paper that has been printed on one side, sticker paper would work well also)
Glue stick

Step 1. Making the Postcard
Select boxes that are big enough to give you at least one flat section that measures 4 1/4" X 6".
(I checked the USPS website before making these, then stopped at the post office to double check that the finished size was ok, it was)

Measure out a 4 1/4" X 6" rectangle.


Cut out your rectangle.

(if you want to, you can use this as a stencil for future postcards)

Step 2. The back of the post card.
You have a few options:
Option A. You like the design on the card.
If that is the case, you can simply fill out the back of the card as you see here (stamp goes in upper right corner, to: address below stamp. Return address can go in upper left or lower left. Write "Postcard" top middle).


Option B. You want to use the blank side to decorate.
If this is the case, I like this site for a free printable postcard template.

Once you download the template, you can delete the business name stuff and just do your own thing (leave it blank to fill out later or fill in as much as you want).

Print the template on the blank paper, cut it out, then glue it (we found a glue stick produced better results then the white glue) to the printed side of your postcard.
(I initially used a different template, but like the one linked better)

Step 5. Decorate the blank side of the postcard.
-Emma used her markers to draw on the postcards. If the material you are using is waxy, I would use sharpies, or even glue another piece of blank paper to the front of the card.


-I glued some of the map pieces from my previous post to the front of my postcards.


Step 6. Mail them!!
As of this posting, shipping domestic postcards cost $.28 and international postcards are $.98. You can buy stamps in both of those amounts. (We did).

I hope you make a few postcards. If you do, please share them with me on my Facebook Fan Page.

We love to send and receive postcards, so if you are interested, send me an e-mail (kaotickrafter@hotmail.com) with your address and we will send a postcard your way!

Monday, April 12, 2010

My First Attempt At A Tutorial - Stitched Books

I am not very good at giving directions. Probably because I am not very good at following directions :)

But, I decided to give it a try.

I was taking some pages (ones printed on one side) out of a college workbook that I never ended up using and decided to use the books original covers to make a new handmade book.

After making these two,

I decided to try creating a 'To Do List' in Excel. I liked the test pages I printed, so I also made up some blank monthly calendars. I decided to print up and make the calendars into books first.

As I was cutting up some cereal boxes to use as the covers, I realized this would make an easy (for me) tutorial.

So, here goes.

Materials needed:
-recycled paper (can be anything; paper printed on one side, wrapping paper, junk mail, envelopes, etc.)
-cardboard boxes (cereal, granola bars, pizza boxes, etc.)
-embroidery floss (could also use twine, yarn, heavy string, ribbon, etc)
-scissors or rotary cutter
-straight edge
-drill with a small drill bit (or you could use a hole punch, it just takes more work)
-something to drill on (I used a phone book)


Step 1.
Decide on what size paper you want to use. I used regular printer paper that was already printed on one side. I sent this batch through the printer so I had blank monthly calendars. After printing them, I just folded them in half. (If you are interested, I can e-mail you the excel spreadsheet that I created for this, just leave me a comment with your e-mail)


Step 2.
Cut the cardboard.
I cut the flaps off the box, then set the pages inside so I could figure out where to make the rest of the cuts. I liked the pictures and words, so I tried to make my cuts work with them. If you want a plain cover, make your cuts where every, then turn the covers over before the next step.
Some of the books I was able to use the fold as the top, sometimes I couldn't. Both ways seem to work well.
I used a rotary cutter and a straight edge to cut the boxes up. I have fallen in love with rotary cutters. I have one for paper and one for fabric :) Scissors will work also, you will probably have to actually measure.


Step 3.
Making Holes
Once you have the cardboard cut to the correct size, insert the pages and make sure everything is lined up.
I used the phone book to keep my pages and covers lined up. It also made for a nice drilling block... after I adjusted the drill bit... I only ended up with one small hole in the floor :)
I used the edge of the picture on the back of the phone book as my guide, you may want to draw a line so your holes are straight.

If you don't have or don't want to use a drill, you can also use a hole punch. Punch the top cover, add and line up the first page (or however many you can punch through at onece), punch through the first set of holes, and continue until you have punched all of your paper and the back cover.

Step 4.
Stitching
This is where I got the (lame) name of stitched books. I used embroidery floss (because I have a ton of it on hand). I used a blanket stitch (I had to google it the other day for a different project). It is important to make sure you don't stitch them to tight, otherwise your book won't really open.


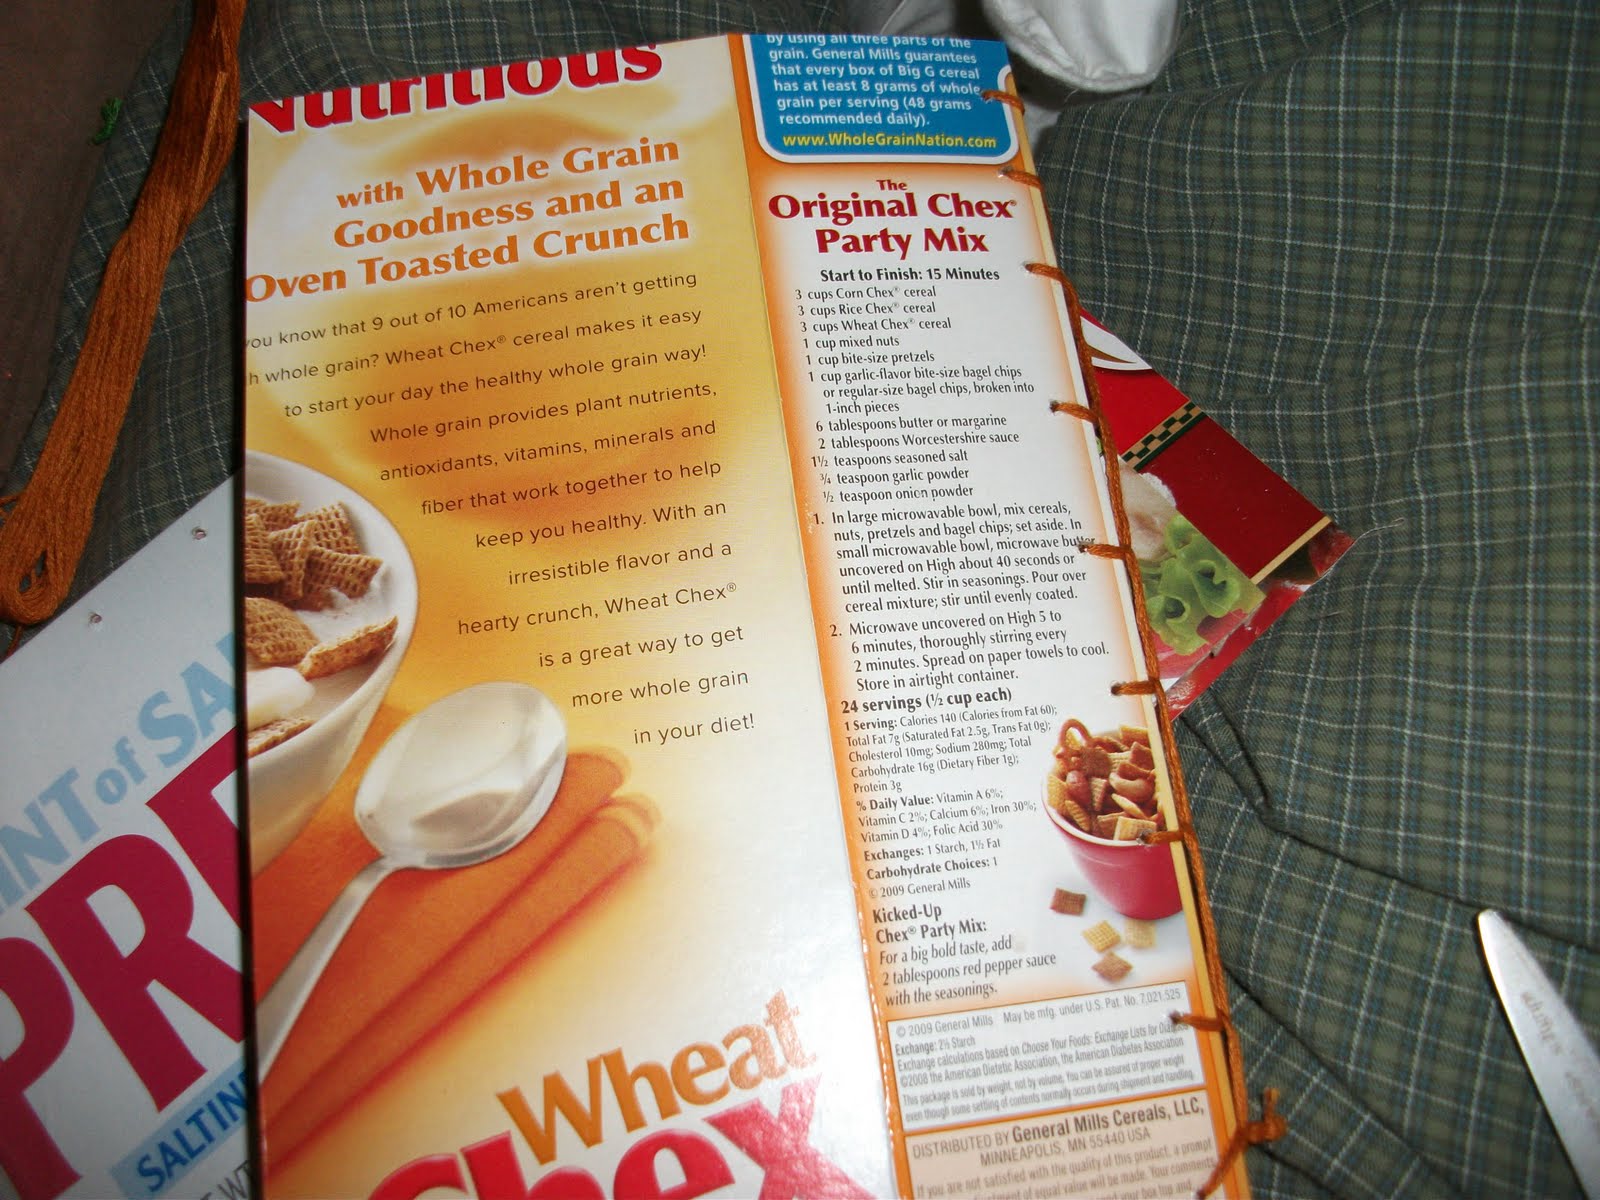
That is it. Here are a few pictures of the ones that I made today.


This last one I even managed to include a recipe on the back (ok, it was totally by accident, but still cool).


I would love to see what you make! If you feel like sharing, go to my FB fan page
and share away :)